Self-Hosted Private LLM using Ollama and Open WebUI
If you're worried about sending private information across the web to your favourite chatbot, you're not alone. In this guide, I will show you how you can securely run a ChatGPT-style interface using your preferred model for complete privacy.

As AI becomes increasingly integrated into our daily lives, the privacy implications of sharing data becomes a serious concern to many. In many cases, we lack complete control over the amount of information shared, and we might face uncertain data retention policies or even worse, questionable practices by service providers.
Take, for instance, a recent development with OpenAI in which they received a court order to store user conversations indefinitely. This obviously has a huge impact on all ChatGPT users on the Free, Plus, and Pro plans. This even extends to anyone using their API.
So, how do you protect your conversations? The most secure way is to stop using AI services, right? Well, that's obviously not going to be the case for many! Luckily, there's a simpler approach that protects your privacy and keeps your information 100% on your machine.
Ollama + Open WebUI
To set up our ChatGPT alternative locally on our machine, we'll use two popular open source projects:
- Ollama: Lets you run AI models, on your own computer without requiring any network access (100% offline).
- Open WebUI: A simple web interface that lets you chat with AI models running on your own computer. (Gives you a ChatGPT-style user interface).
To keep our setup streamlined, we'll be using Docker for this tutorial. While optional, containerizing your projects is always a good idea since it automatically offers a clean, isolated, and highly reproducible environment.
Creating Docker Compose
We'll start by creating a new docker-compose.yml file, then we'll paste the following:
services:
  ollama:
    image: ollama/ollama
    container_name: ollama
    restart: unless-stopped
    ports:
      - "11434:11434"
    volumes:
      - ollama_data:/root/.ollama
    environment:
      - OLLAMA_LLM_MAX_MEMORY=6000MB
      - OLLAMA_NUM_THREADS=6
      - OLLAMA_MAX_LOADED_MODELS=1
      - OLLAMA_KEEP_ALIVE=5m
      - OLLAMA_NUM_PARALLEL=1
    deploy:
      resources:
        limits:
          cpus: '6.0'
        reservations:
          cpus: '2.0'

  open-webui:
    image: ghcr.io/open-webui/open-webui:main
    container_name: open-webui
    restart: unless-stopped
    ports:
      - "8080:8080"
    volumes:
      - open_webui_data:/app/backend/data
    environment:
      - OLLAMA_BASE_URL=http://ollama:11434
      - WEBUI_SECRET_KEY=enter-key-here
    depends_on:
      - ollama

volumes:
  ollama_data:
  open_webui_data:
docker-compose.yml (Ollama + Open WebUI)
Our docker-compose.yml file sets up two containers:
ollama: Runs local models on port11434, limited to use 6 CPU cores and 6GB of RAM, with models kept in memory for 5 minutes after use. (Feel free to adjust as needed).open-webui: Provides a web interface on port8080that connects to Ollama to create a ChatGPT-like interface.
Both services store data in persistent volumes so nothing is lost when containers restart, and the WebUI waits for Ollama to start first since it depends on it to function.
Creating our Containers
Make sure you're in the same directory where the docker-compose.yml file lives then it's as simple as running docker-compose up.
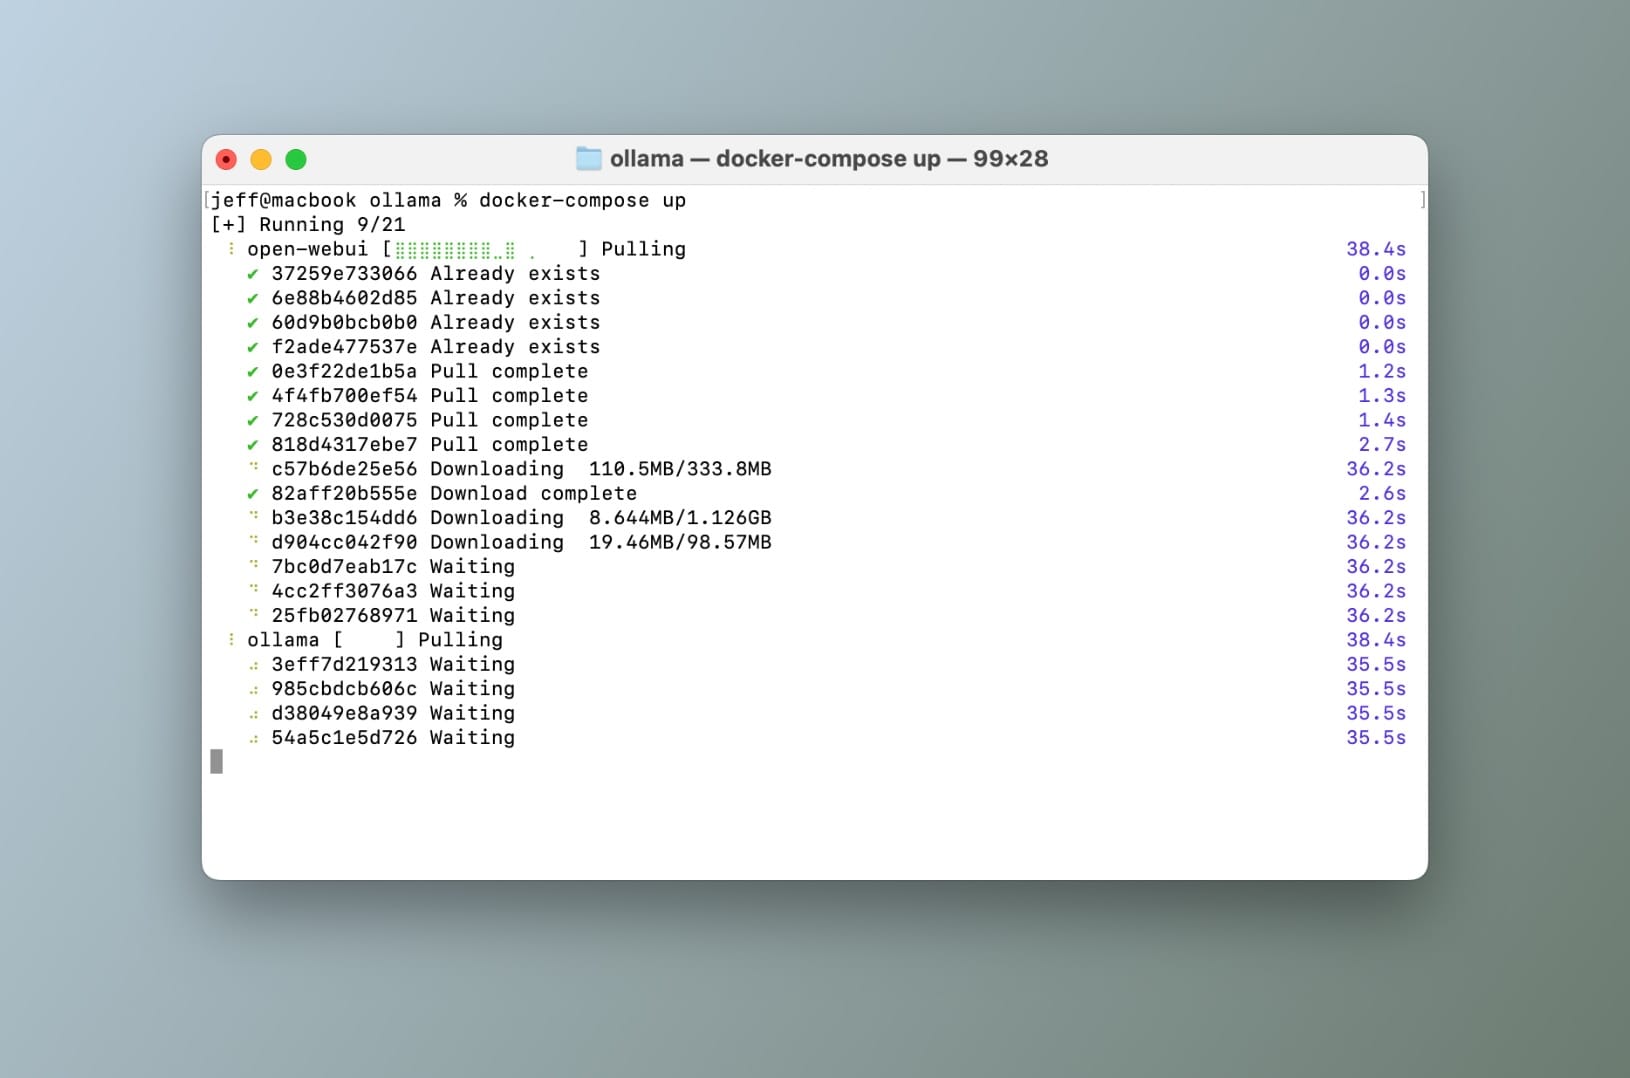
docker-compose up from terminalNow this will take a few minutes depending on your internet connection speed, but eventually you'll end up with two containers.
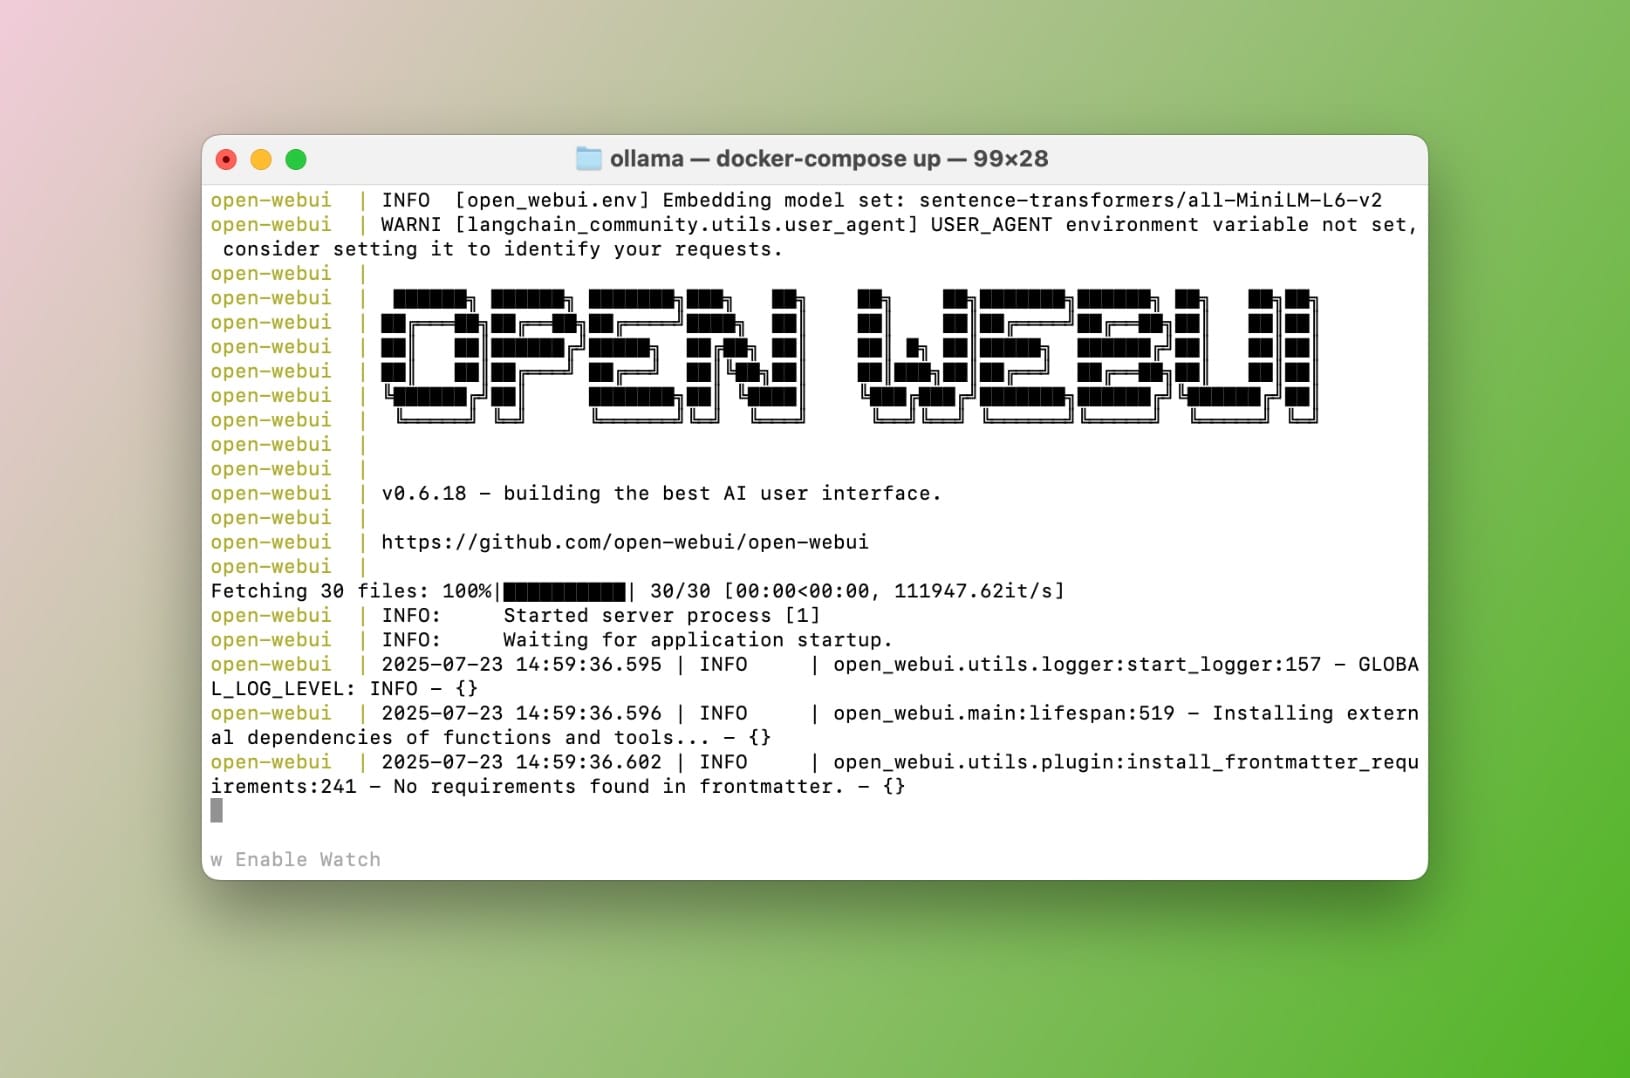
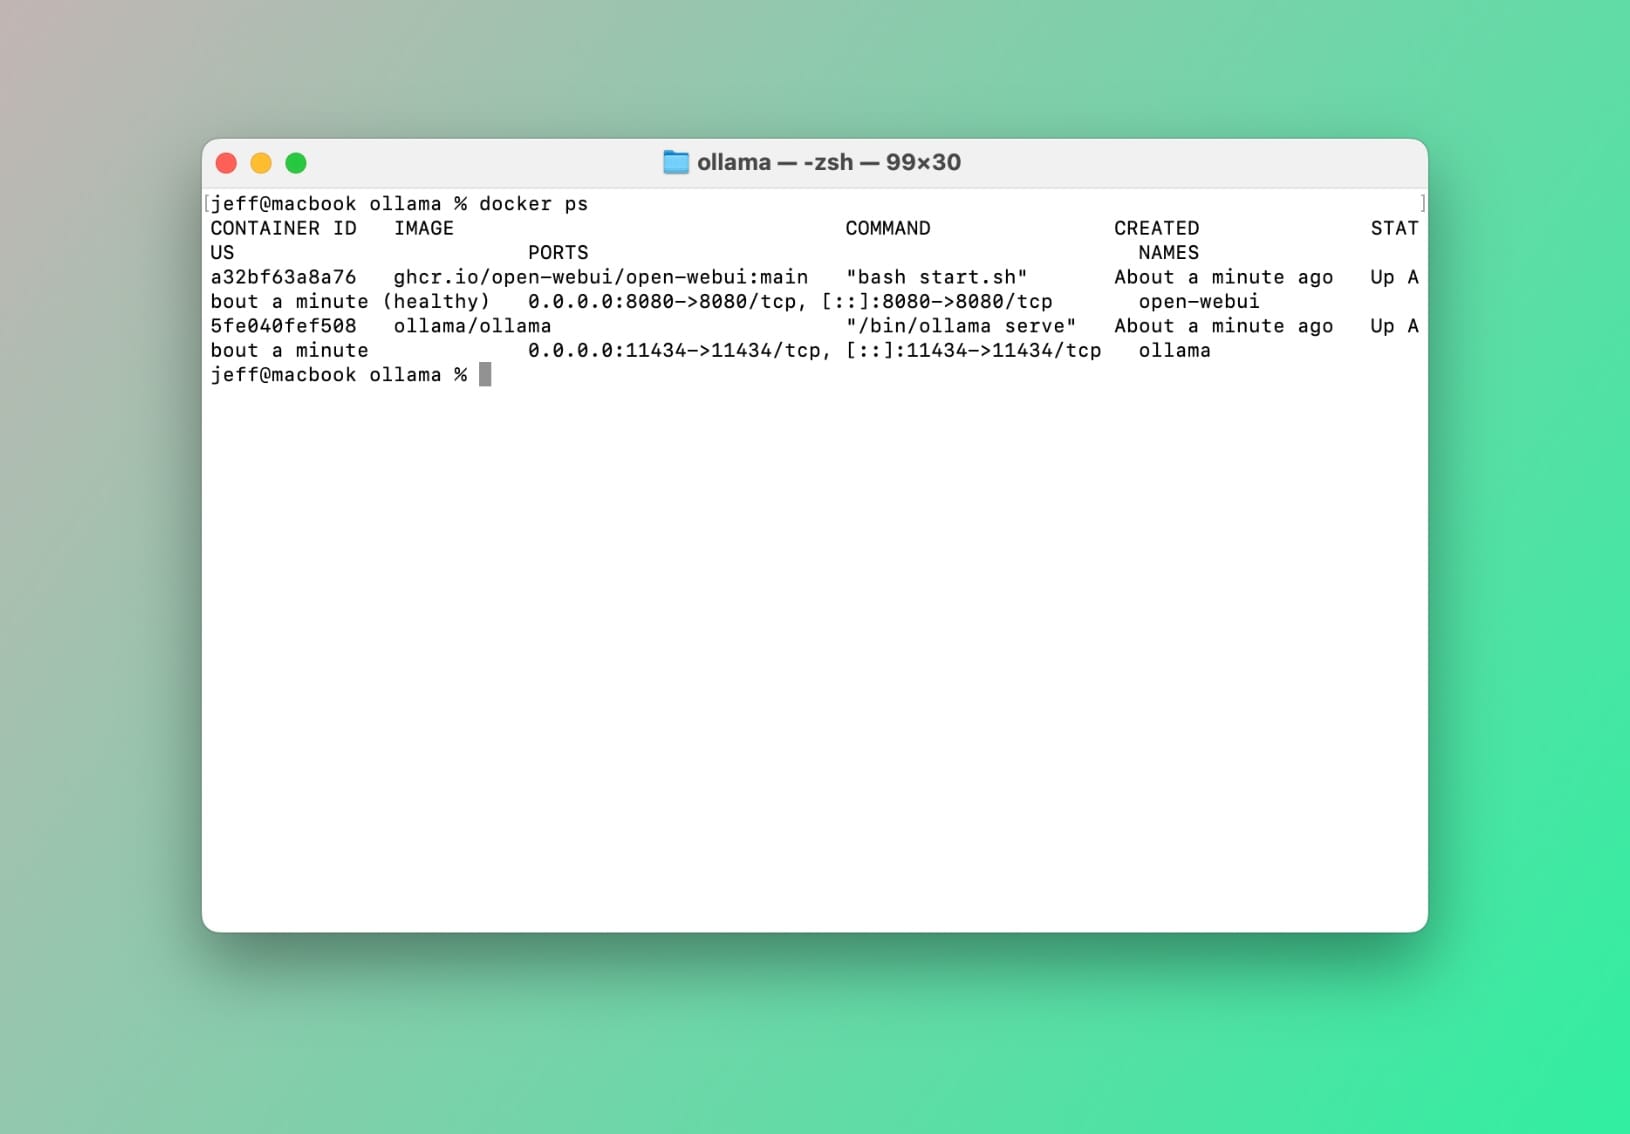
docker-compose upTo confirm all is in order, run the following command in your terminal: docker ps
You should see something like this:
docker psChoosing and Installing a Model
Next, we'll want to download and install a model for Ollama to work. It's important to know that general-purpose models like GPT-4o, Claude Sonnet, Google Gemini, and others are designed to handle a wide range of tasks reasonably well. However, they aren't specifically optimized for one particular area, such as programming or writing.
Ok, let's assume that you're looking for a code assistant to help with programming tasks, you'll want a model tuned for code. To see what’s available, visit Ollama’s model library. Some popular options include codellama, qwen2.5-coder and phi3.5. These models differ in size and performance, but how do you choose which version works best for you?
Downloading a Model for Ollama
For this demo, we'll use llama3.2:1b-instruct-q4_0. This model is an excellent choice for basic coding assistance and is incredibly lightweight on system resources. Depending on your hardware, you can choose a larger or more specialized model.
Since we're running Ollama in a container, we need to execute the download command (pull) within the container. To do this, type the following in your terminal:
docker exec -it ollama bashGet a shell inside the ollama container
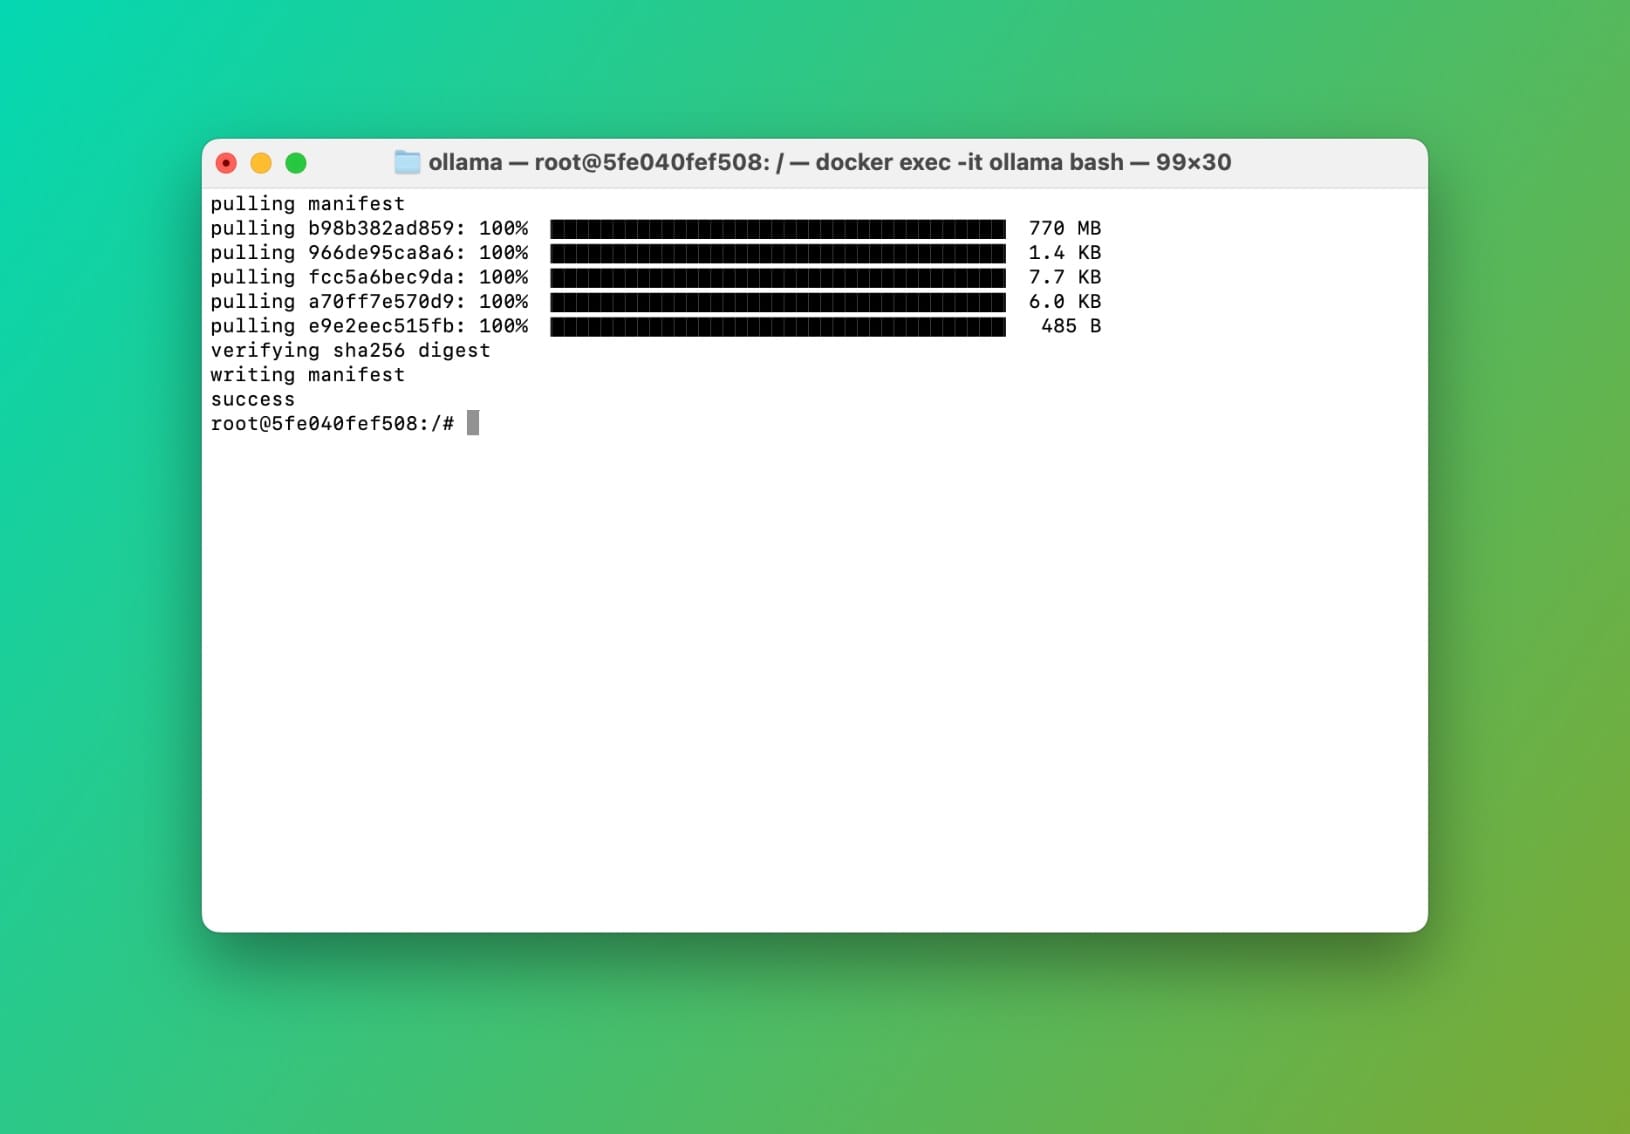
Now that we're inside the container, let's pullllama3.2:1b-instruct-q4_0 using the ollama CLI:
ollama pull llama3.2:1b-instruct-q4_0Pulling llama3.2:1b-instruct-q4_0 inside ollama container
Now let's quickly take it for a spin. While inside the container, run the following command: ollama run llama3.2:1b-instruct-q4_0 then hit return. You should now be able to prompt the model:
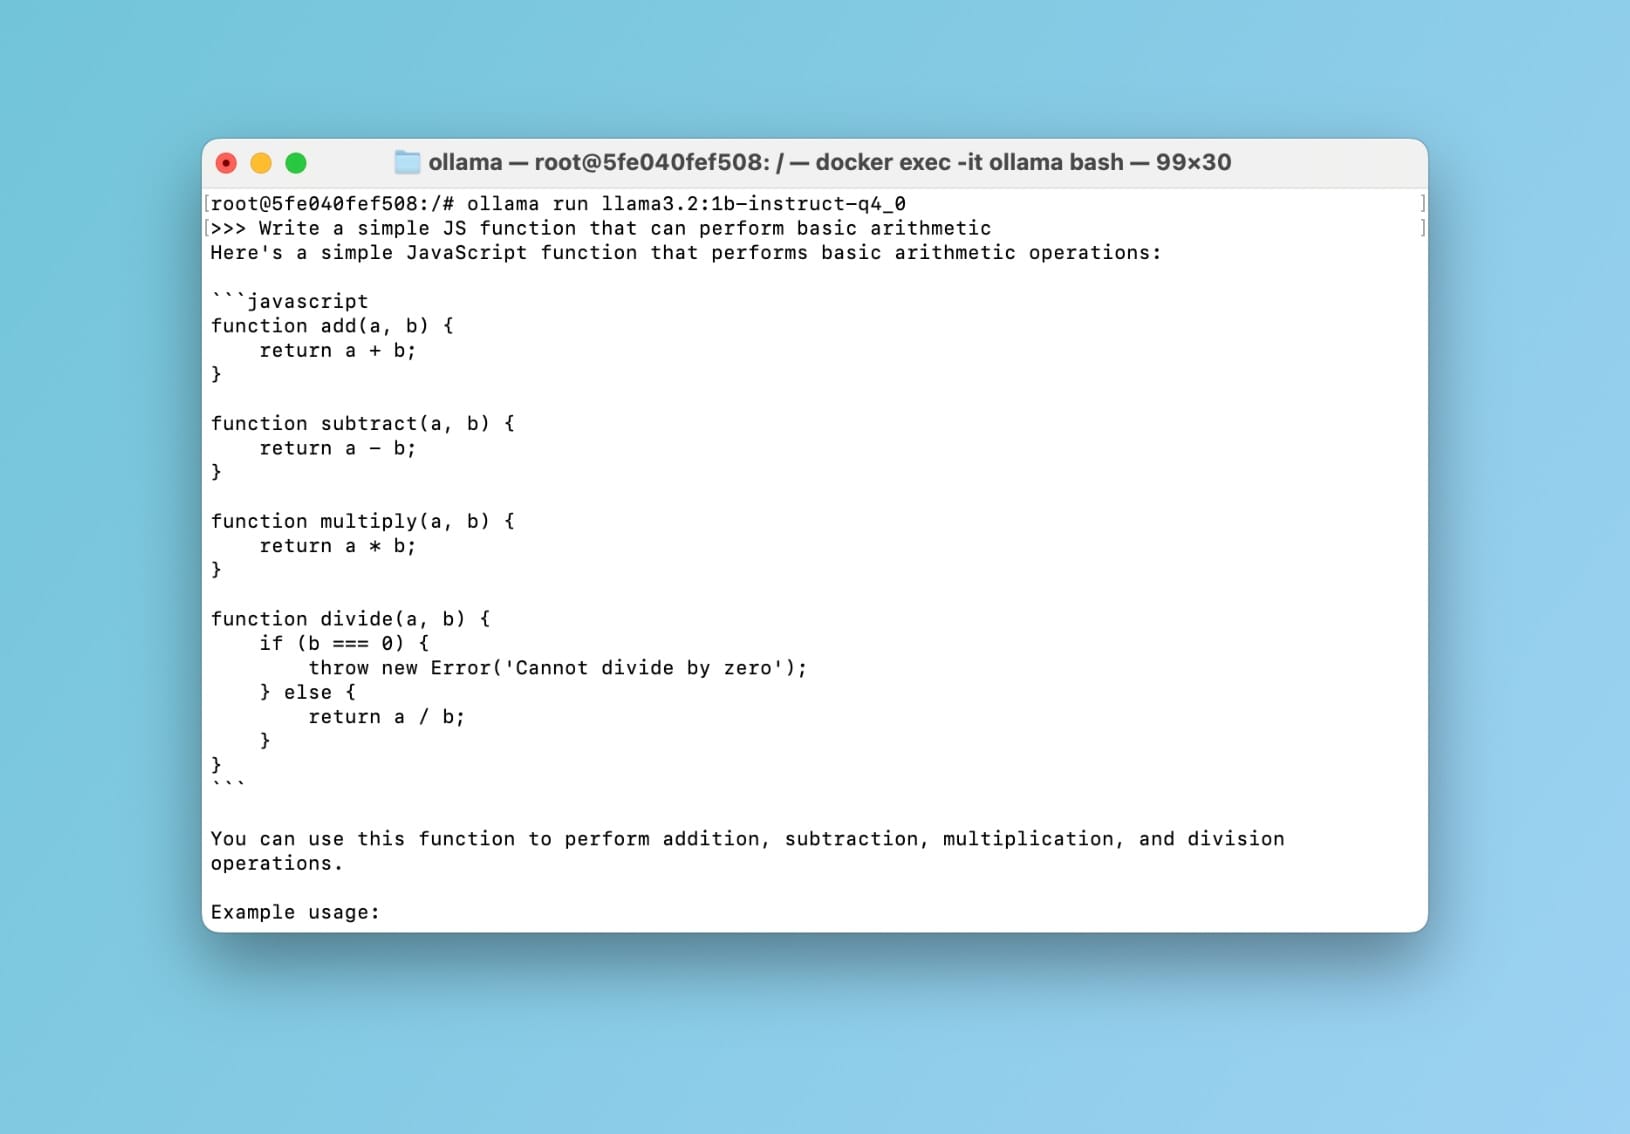
llama3.2:1b-instruct-q4_0 demo within ollama containerCool 🥳 This confirms that everything is in order. Now let's take it to the next level and interact with our model using a ChatGPT-style interface instead of the terminal.
Using the Model with Open WebUI
If you've followed the steps in this tutorial you should now have a second running container with Open WebUI installed and ready to go. To confirm this, in your terminal type docker ps.
You should see a container called open-webui.
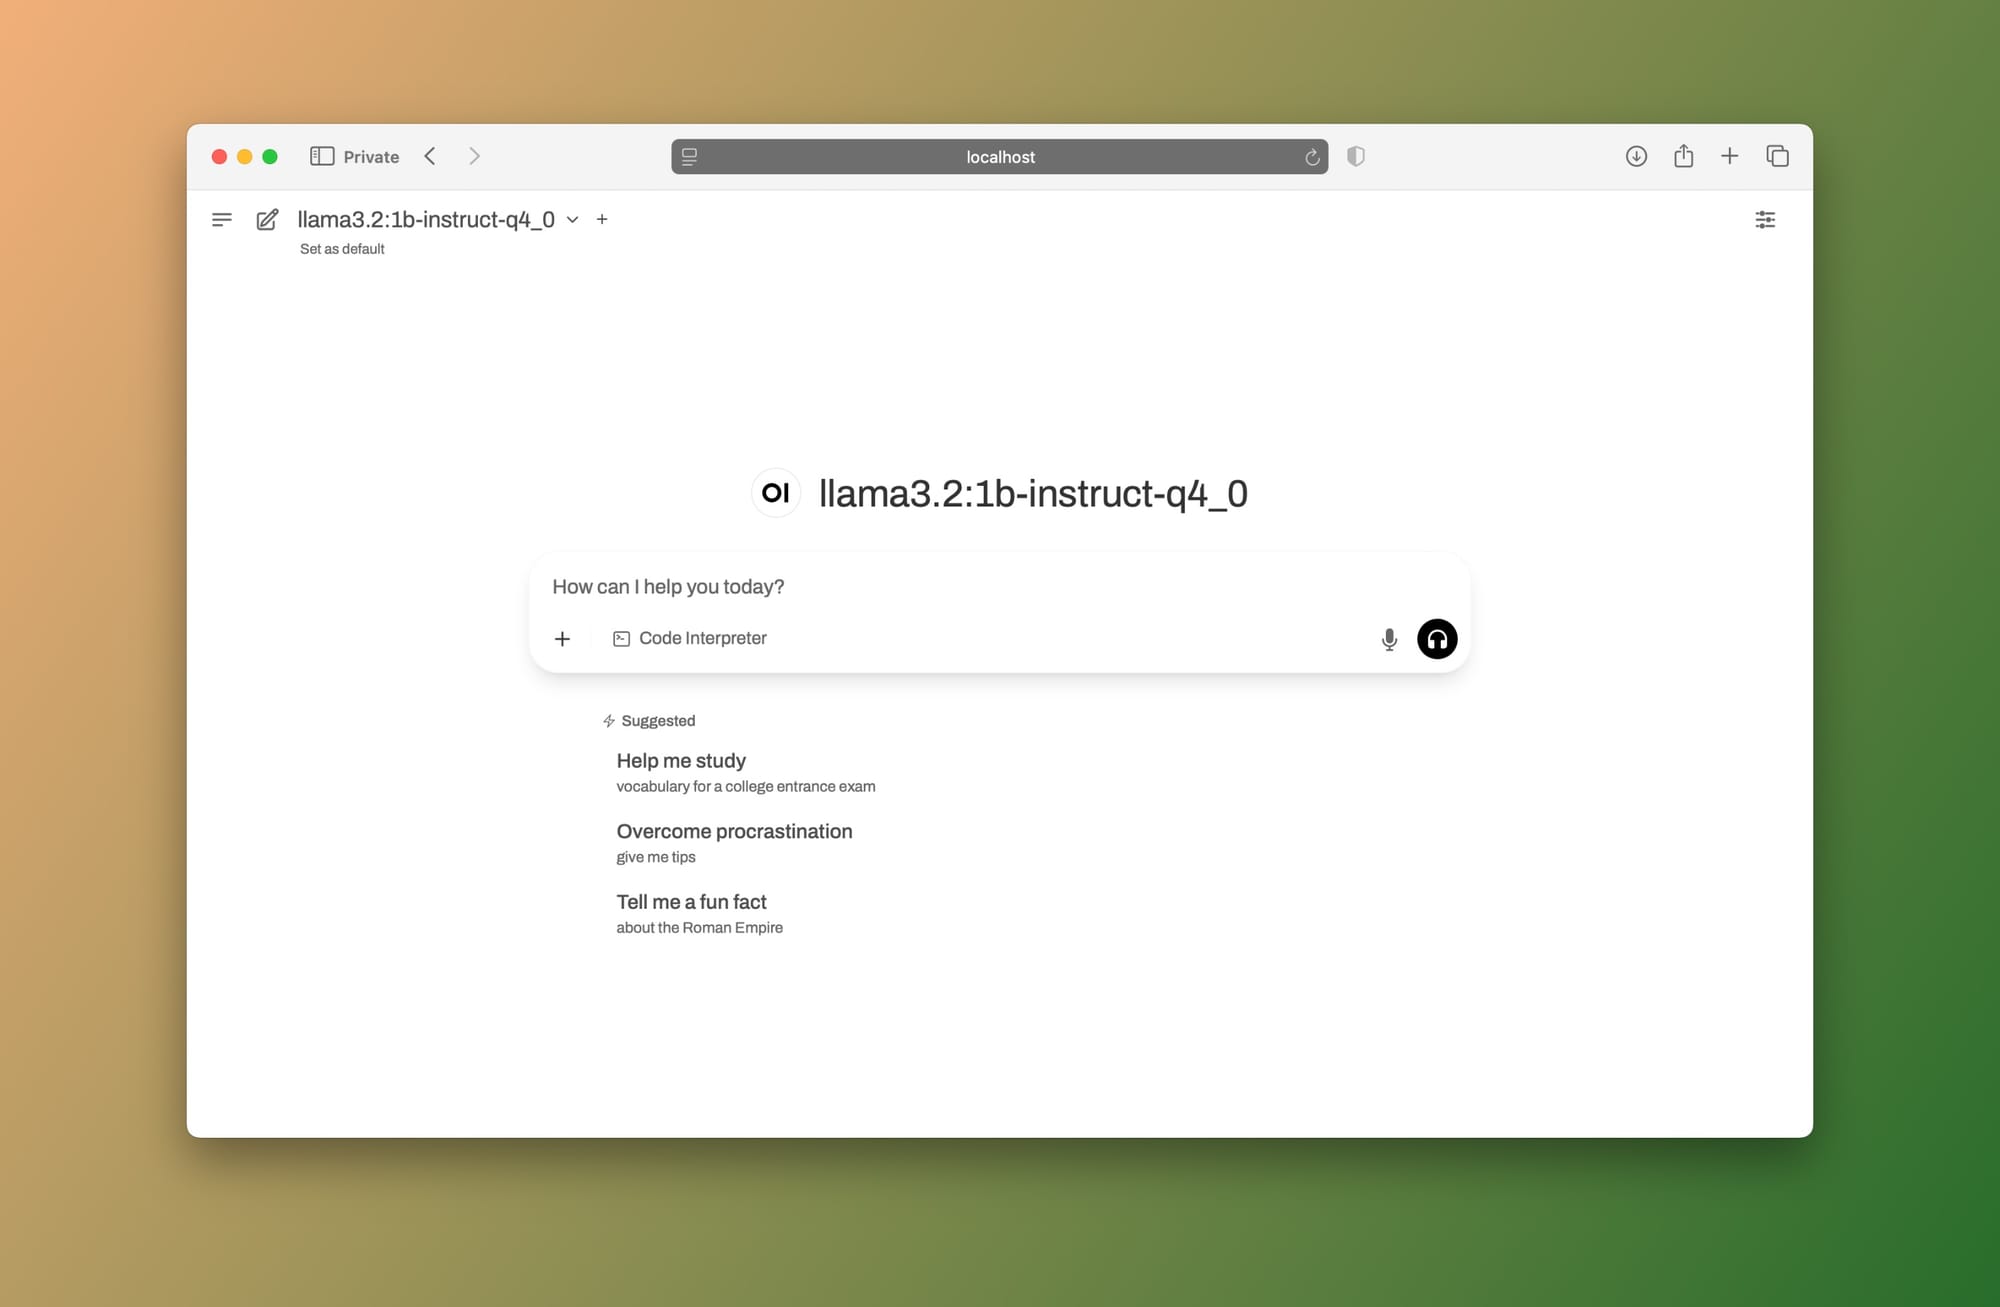
Now open up your browser window and navigate to: http://localhost:8080 (or whichever port you set in your docker-compose.yml file.)
You should see the Open WebUI login screen. Go ahead and create an account (don't worry, this account stays on your machine). After you login, you should be able to see a similar interface as this one:
Let's use the same prompt (Write a simple JS function that can perform basic arithmetic):
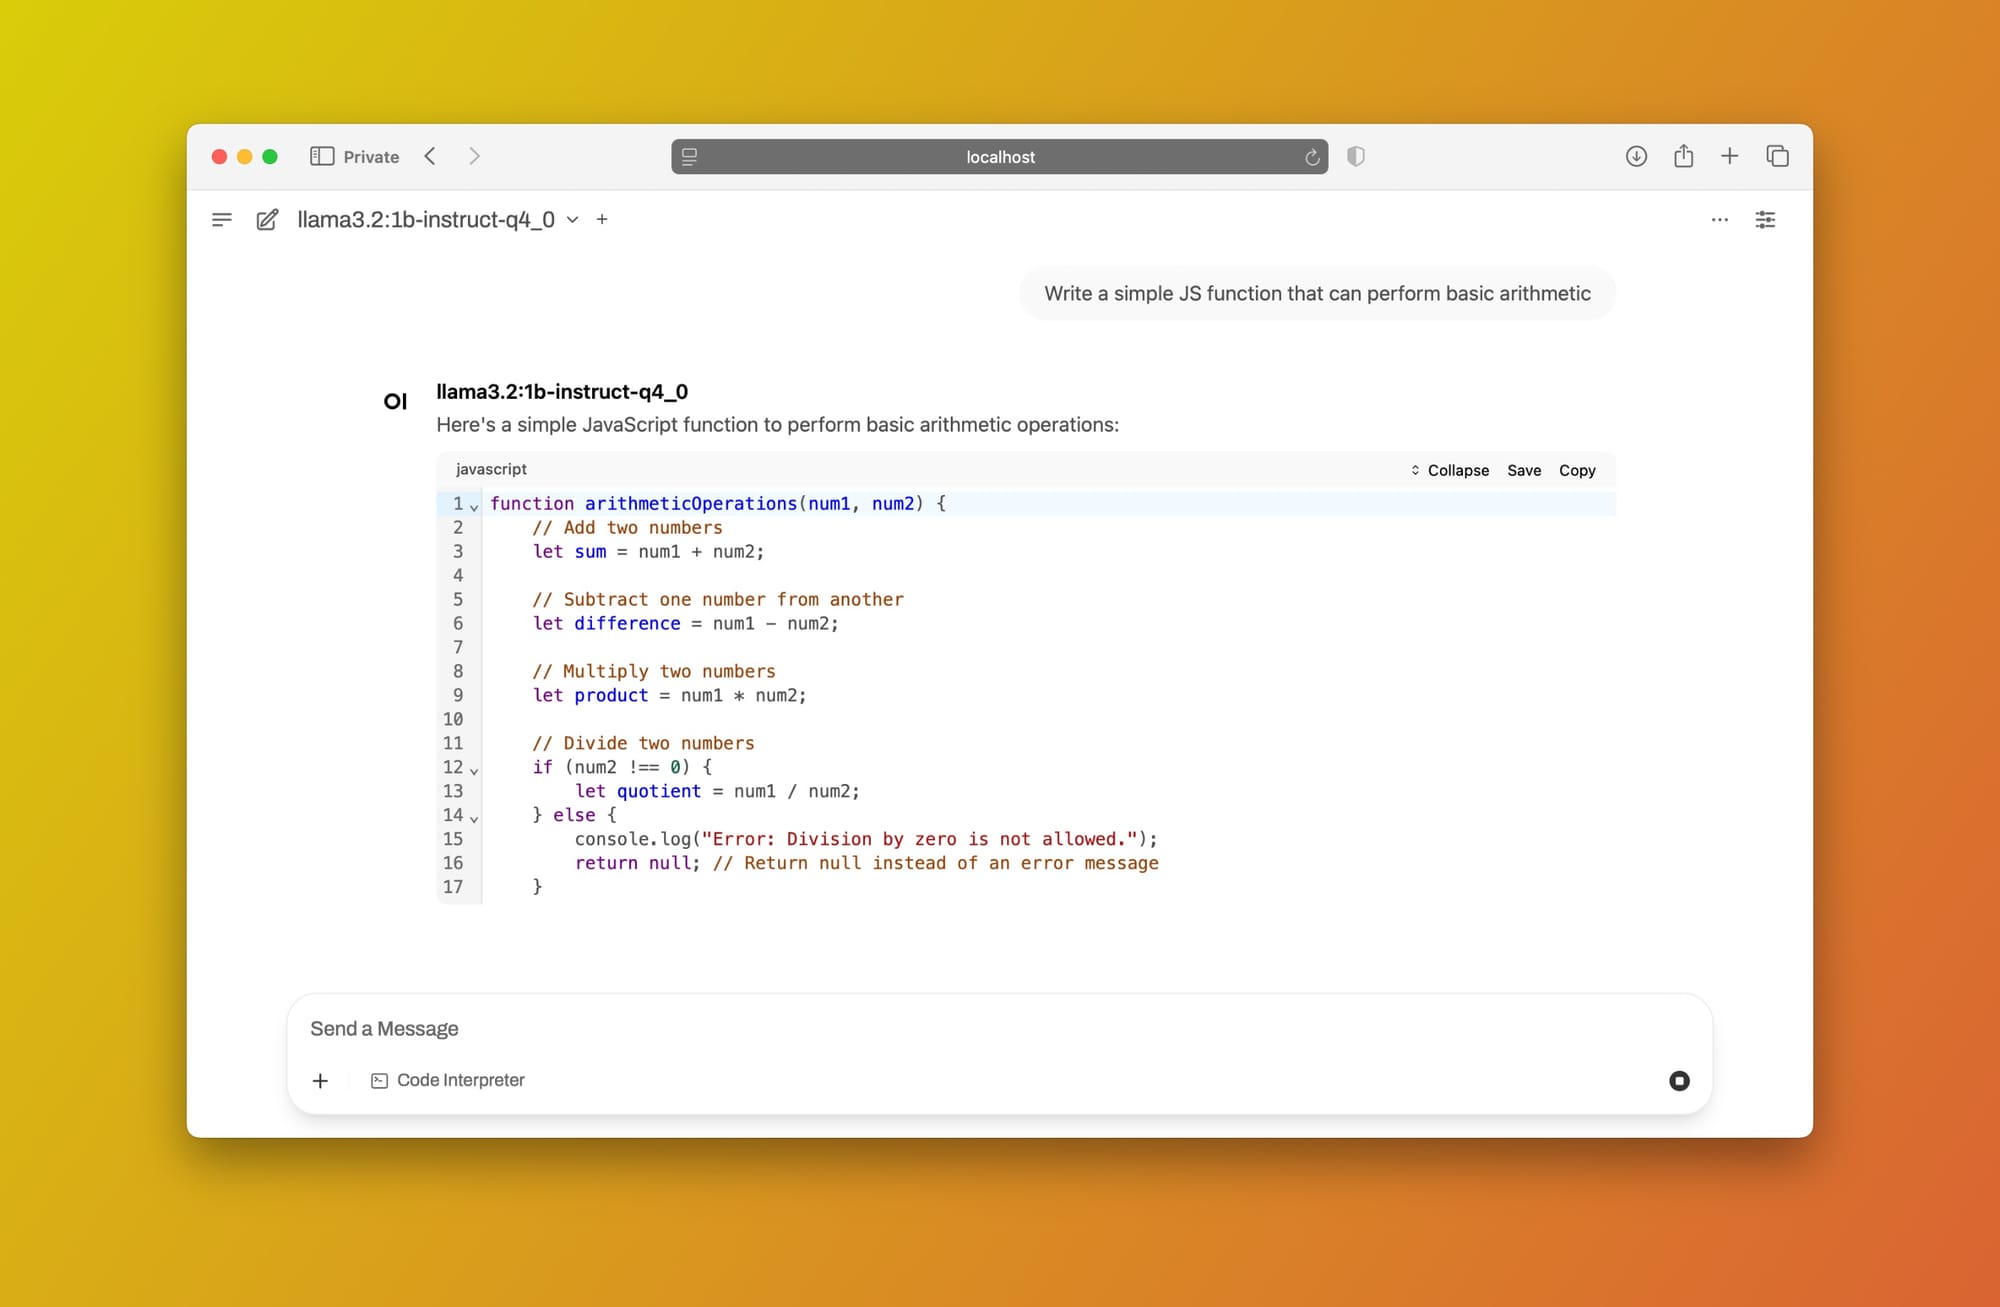
llama3.2 using Open WebUI + Ollama locallyAwesome! You now have a ChatGPT-style interface with all the features you need, powered by a locally hosted LLM. You can use this model with peace of mind, knowing that your confidential or private information never leaves your computer.
If you’d like to learn how to use this model in VS Code as an alternative to GitHub Copilot, feel free to drop a comment and let me know!